
Looking for the perfect homemade piroshki recipe? Whether you’re craving a sweet piroshki filled with apples or a savory piroshki filled with braised cabbage and beef, this baked piroshki recipe will satisfy your taste buds! These delicious Russian buns are made with a fluffy, yeast-based dough that’s soft, airy, and golden brown. Perfect for a quick snack, party appetizer, or a filling meal, you can customize your fillings to suit any preference. Follow this easy step-by-step guide to bake piroshki at home and enjoy a taste of Russian cuisine. Piroshki are ideal for gatherings, meal prep, or a comforting homemade treat.
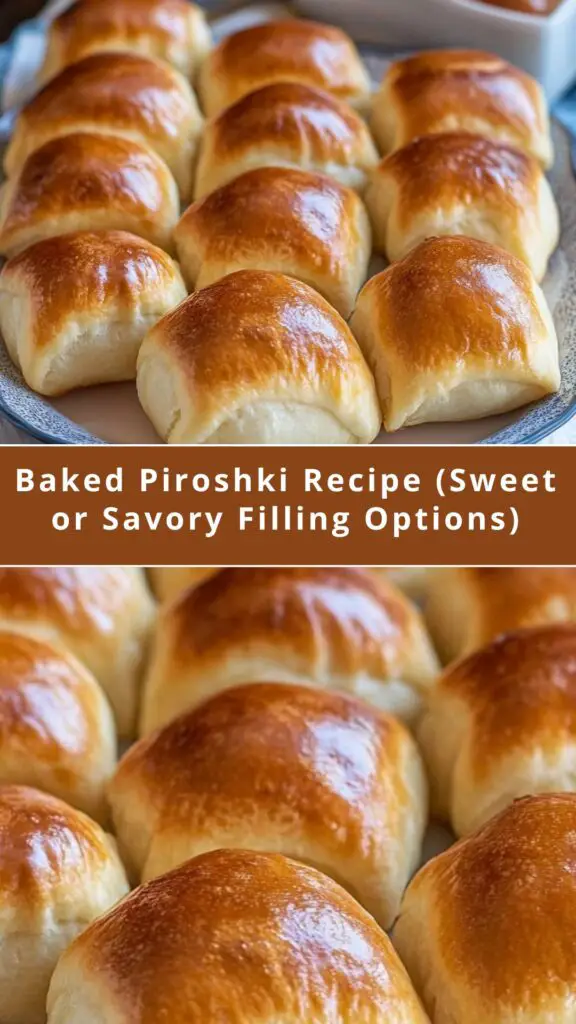
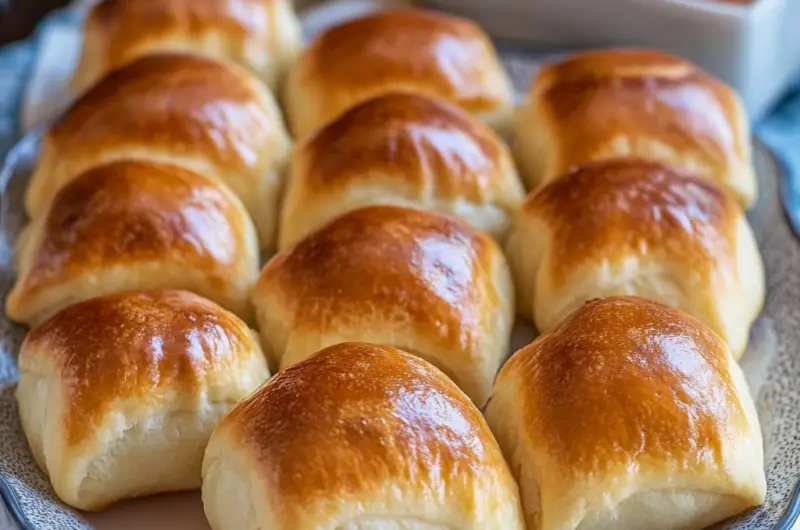
These Baked Piroshki are perfect little buns filled with your choice of either a sweet or savory filling, making them ideal for any occasion. Fluffy, golden, and delicious, these piroshki feature a tender, yeast-based dough that’s easy to make and even easier to eat! Whether you choose the apple filling or the savory braised cabbage and beef filling, these piroshki are sure to satisfy everyone’s taste buds.
Ingredients:
For the Dough:
- 2 cups warm milk
- 1 tbsp active dry yeast
- 1/2 cup sugar, divided
- 6 cups + 2 tbsp all-purpose flour, divided
- 3 eggs
- 1 1/2 tbsp melted butter
- 1 tsp salt
- 1 egg (for egg wash)
For the Apple Filling:
- 2 apples, finely chopped
- 1/3 cup granulated sugar
- 1/4 cup sugar for sautéing the apples
Instructions:
-
Prepare the Apple Filling:
Chop the apples finely using a food processor, then sauté them in a pan with 1/4 cup sugar over medium-high heat. Stir frequently for 10 minutes until most of the juice evaporates. Set aside to cool. For a sweet finish, brush the baked piroshki with sugar water (1 tbsp sugar dissolved in 2 tbsp warm water). -
Prepare the Dough:
In the bowl of an electric mixer, combine 2 cups warm milk and 1 tbsp yeast. Let it sit for 5-7 minutes. Then add 1 cup flour and 1/4 cup sugar, whisking to combine. Allow the mixture to rise at room temperature for 30-45 minutes, or 20 minutes in a 100˚F oven. - Add the 3 eggs, remaining sugar, melted butter, and salt to the risen mixture. Mix in flour 1 cup at a time, allowing it to blend into the dough before adding more. Knead on low speed for 15 minutes with a dough hook. Add more flour as necessary until the dough no longer sticks to the bowl (you’ll need around 6 cups + 2 tbsp).
-
Let the Dough Rise:
Cover the dough with plastic wrap and place it in a 100˚F oven for 1 hour (or 2 hours in a warm room) until the dough triples in size. -
Form the Piroshki:
Once risen, divide the dough into 5 equal pieces. Roll each piece into a 13-14″ circle. Cut each circle into 8 equal triangles. Add about 1/2 tbsp of filling to the wide part of each triangle. To seal, fold the edges over the filling and pinch the dough together. Fold the corners in and roll forward to form a bun. -
Final Rise:
Place the rolled piroshki on a parchment-lined baking sheet, ensuring the flap side is down. Let them rise in a warm oven (100˚F) for 20 minutes or until puffy. If rising in a warm room, this may take 30-45 minutes. -
Bake:
Brush the tops of the piroshki with the beaten egg and bake at 360˚F for 20 minutes or until golden brown.
Tips:
- Ensure a warm environment for dough rising. Dough rises best in a warm place (100˚F oven or a warm room).
- Do not overwork the dough. Once the flour is incorporated, knead the dough gently to avoid tough piroshki.
- Customize the filling. You can substitute the apple filling with your favorite sweet fillings or try a savory option like cheese, mashed potatoes, or mushrooms.
Variations and Substitutions:
- Savory Fillings: If you prefer a savory version, use braised cabbage with beef, sautéed mushrooms, or mashed potatoes.
- Sweet Fillings: Try adding berries, cinnamon sugar, or even Nutella for a unique twist.
- Dough Alternatives: For a gluten-free option, you can use a gluten-free all-purpose flour blend in place of regular flour (ensure your yeast is gluten-free as well).
FAQs:
-
Can I make these ahead of time?
Yes! You can prepare the piroshki and refrigerate them until ready to bake. Just let them rise at room temperature before baking. -
Can I freeze piroshki?
Yes, after baking, let the piroshki cool completely, then store them in an airtight container in the freezer for up to 3 months. -
How can I ensure the dough is perfect?
Make sure to follow the instructions carefully, especially during the rising phases. The dough should be soft, moist, and not too sticky.
Serving Suggestions:
- Serve warm as a delightful snack or appetizer at family gatherings, parties, or holiday celebrations.
- Pair with a side salad or soup for a hearty meal.
Why You’ll Love This Recipe:
- Versatile Fillings: Choose between sweet or savory fillings based on your mood or dietary preferences.
- Fluffy and Tender: The dough is light, airy, and perfect for holding your favorite fillings.
- Perfect for Any Occasion: Whether for a cozy family meal or a party, these piroshki are sure to impress!
Baked Piroshki Recipe (Sweet or Savory Filling Options)
40
servings3
hours20
minutesIngredients
-
For the Dough:
-
2 cups warm milk
-
1 tbsp active dry yeast
-
1/2 cup sugar, divided
-
6 cups + 2 tbsp all-purpose flour, divided
-
3 eggs
-
1 1/2 tbsp melted butter
-
1 tsp salt
-
1 egg (for egg wash)
-
For the Apple Filling:
-
2 apples, finely chopped
-
1/3 cup granulated sugar
-
1/4 cup sugar for sautéing the apples
Directions
- Prepare the Apple Filling:
- Chop the apples finely using a food processor, then sauté them in a pan with 1/4 cup sugar over medium-high heat. Stir frequently for 10 minutes until most of the juice evaporates. Set aside to cool. For a sweet finish, brush the baked piroshki with sugar water (1 tbsp sugar dissolved in 2 tbsp warm water).
- Prepare the Dough:
- In the bowl of an electric mixer, combine 2 cups warm milk and 1 tbsp yeast. Let it sit for 5-7 minutes. Then add 1 cup flour and 1/4 cup sugar, whisking to combine. Allow the mixture to rise at room temperature for 30-45 minutes, or 20 minutes in a 100˚F oven.
- Add the 3 eggs, remaining sugar, melted butter, and salt to the risen mixture. Mix in flour 1 cup at a time, allowing it to blend into the dough before adding more. Knead on low speed for 15 minutes with a dough hook. Add more flour as necessary until the dough no longer sticks to the bowl (you’ll need around 6 cups + 2 tbsp).
- Let the Dough Rise:
- Cover the dough with plastic wrap and place it in a 100˚F oven for 1 hour (or 2 hours in a warm room) until the dough triples in size.
- Form the Piroshki:
- Once risen, divide the dough into 5 equal pieces. Roll each piece into a 13-14″ circle. Cut each circle into 8 equal triangles. Add about 1/2 tbsp of filling to the wide part of each triangle. To seal, fold the edges over the filling and pinch the dough together. Fold the corners in and roll forward to form a bun.
- Final Rise:
- Place the rolled piroshki on a parchment-lined baking sheet, ensuring the flap side is down. Let them rise in a warm oven (100˚F) for 20 minutes or until puffy. If rising in a warm room, this may take 30-45 minutes.
- Bake:
- Brush the tops of the piroshki with the beaten egg and bake at 360˚F for 20 minutes or until golden brown.


Leave a Reply