
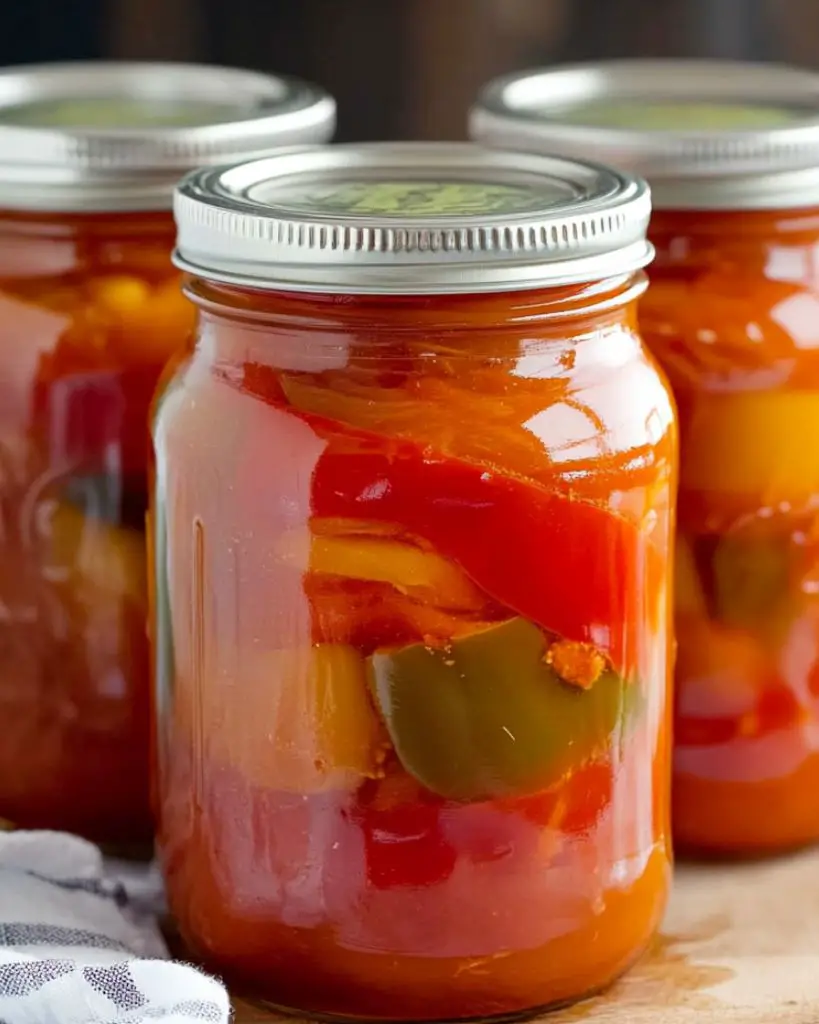
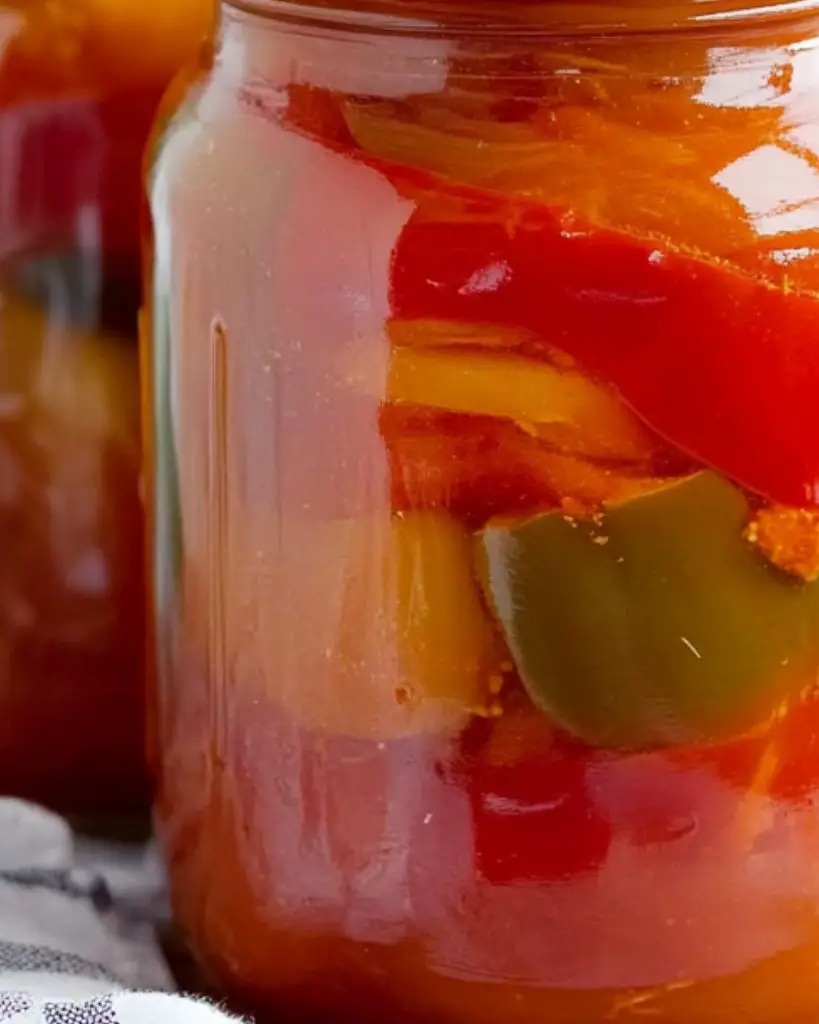
Make homemade canned bell peppers with a simple mix of fresh peppers, tomato juice, vinegar, and seasonings. This easy preserving method helps extend the shelf life of bell peppers while keeping their rich flavor and texture. Perfect for adding to salads, sandwiches, pasta, and more, these jarred peppers are a great way to stock your pantry with a versatile ingredient. Get tips on storage, variations, and the best ways to use them in everyday meals.
Ingredients
- 5-6 lbs red bell peppers, seeded and sliced into 1/2-inch strips
- 6 1/2 cups (1 1/2 liters) tomato juice (homemade or store-bought)
- 1/2 cup extra light olive oil
- 3/4 cup granulated sugar
- 3 Tbsp sea salt (iodine-free)
- 1/2 cup white vinegar
Instructions
Sterilizing the Jars
- Preheat the oven to 215°F.
- Wash all jars and lids with warm soapy water.
- Place jars on the bottom oven rack and heat for 20 minutes or until completely dry.
- Boil the lids for 5 minutes to sterilize.
Preparing the Syrup
- In a large pot or Dutch oven, combine tomato juice, olive oil, sugar, salt, and vinegar.
- Bring the mixture to a boil and simmer for 10 minutes.
Cooking the Bell Peppers
- Slice bell peppers into 1/2-inch-wide strips and add them to the pot.
- Cover and cook, stirring occasionally, until the peppers soften and can be easily pierced with a fork (about 20-25 minutes).
- As the peppers cook, they will gradually submerge in the liquid—stir occasionally to ensure even cooking.
Canning the Bell Peppers
- Using a canning funnel, transfer hot bell peppers into sterilized jars.
- Fill jars with peppers first, then pour in the syrup, leaving 1/4-inch space at the top.
- Secure the lids tightly but do not overtighten to allow air bubbles to escape.
- Place filled jars into a canning pot, covering them with 1-2 inches of water.
- Bring to a boil and process for 15 minutes.
- Remove jars and let them sit at room temperature undisturbed for 12-24 hours.
- Listen for a popping sound, indicating a successful seal.
- After 24 hours, press the center of each lid—if it does not move, the seal is set. If unsealed, refrigerate and use within 3 months.
Tips
- Use firm, ripe bell peppers for the best texture.
- Stir the syrup occasionally to prevent sugar from settling at the bottom.
- Keep a clean workspace to avoid contamination during canning.
- Store sealed jars in a cool, dark place for long-term preservation.
Variations and Substitutions
- Sweeter Version: Increase sugar to 1 cup for a slightly sweeter taste.
- Spicy Peppers: Add red pepper flakes or a few sliced jalapeños to the mixture.
- Different Vinegar: Swap white vinegar for apple cider vinegar for a mild tangy twist.
- Oil-Free Option: Skip the olive oil for a lower-fat version.
FAQs
How long do canned bell peppers last?
Properly sealed jars can last up to a year in a cool, dark place. Once opened, refrigerate and consume within 3 months.
Can I use store-bought tomato juice?
Yes! Homemade tomato juice is great, but store-bought works just as well.
Can I freeze these instead of canning?
Yes! Transfer cooled peppers and syrup into freezer-safe containers and freeze for up to 6 months.
Serving Suggestions
- Use as a topping for sandwiches and burgers.
- Serve as a side dish with grilled meats.
- Mix into pasta or salads for extra flavor.
- Add to soups or stews for a rich, tangy taste.
Why You’ll Love This Recipe
- Simple ingredients with no artificial preservatives.
- A great way to preserve fresh bell peppers for year-round use.
- Easy to customize with different seasonings and spice levels.
- Perfect for meal prep and long-term storage.

Canned Bell Peppers Recipe
3-4
servings20
minutes40
minutesIngredients
-
5-6 lbs red bell peppers, seeded and sliced into 1/2-inch strips
-
6 1/2 cups (1 1/2 liters) tomato juice (homemade or store-bought)
-
1/2 cup extra light olive oil
-
3/4 cup granulated sugar
-
3 Tbsp sea salt (iodine-free)
-
1/2 cup white vinegar
Directions
- Sterilizing the Jars
- Preheat the oven to 215°F.
- Wash all jars and lids with warm soapy water.
- Place jars on the bottom oven rack and heat for 20 minutes or until completely dry.
- Boil the lids for 5 minutes to sterilize.
- Preparing the Syrup
- In a large pot or Dutch oven, combine tomato juice, olive oil, sugar, salt, and vinegar.
- Bring the mixture to a boil and simmer for 10 minutes.
- Cooking the Bell Peppers
- Slice bell peppers into 1/2-inch-wide strips and add them to the pot.
- Cover and cook, stirring occasionally, until the peppers soften and can be easily pierced with a fork (about 20-25 minutes).
- As the peppers cook, they will gradually submerge in the liquid—stir occasionally to ensure even cooking.
- Canning the Bell Peppers
- Using a canning funnel, transfer hot bell peppers into sterilized jars.
- Fill jars with peppers first, then pour in the syrup, leaving 1/4-inch space at the top.
- Secure the lids tightly but do not overtighten to allow air bubbles to escape.
- Place filled jars into a canning pot, covering them with 1-2 inches of water.
- Bring to a boil and process for 15 minutes.
- Remove jars and let them sit at room temperature undisturbed for 12-24 hours.
- Listen for a popping sound, indicating a successful seal.
- After 24 hours, press the center of each lid—if it does not move, the seal is set. If unsealed, refrigerate and use within 3 months.


Leave a Reply