
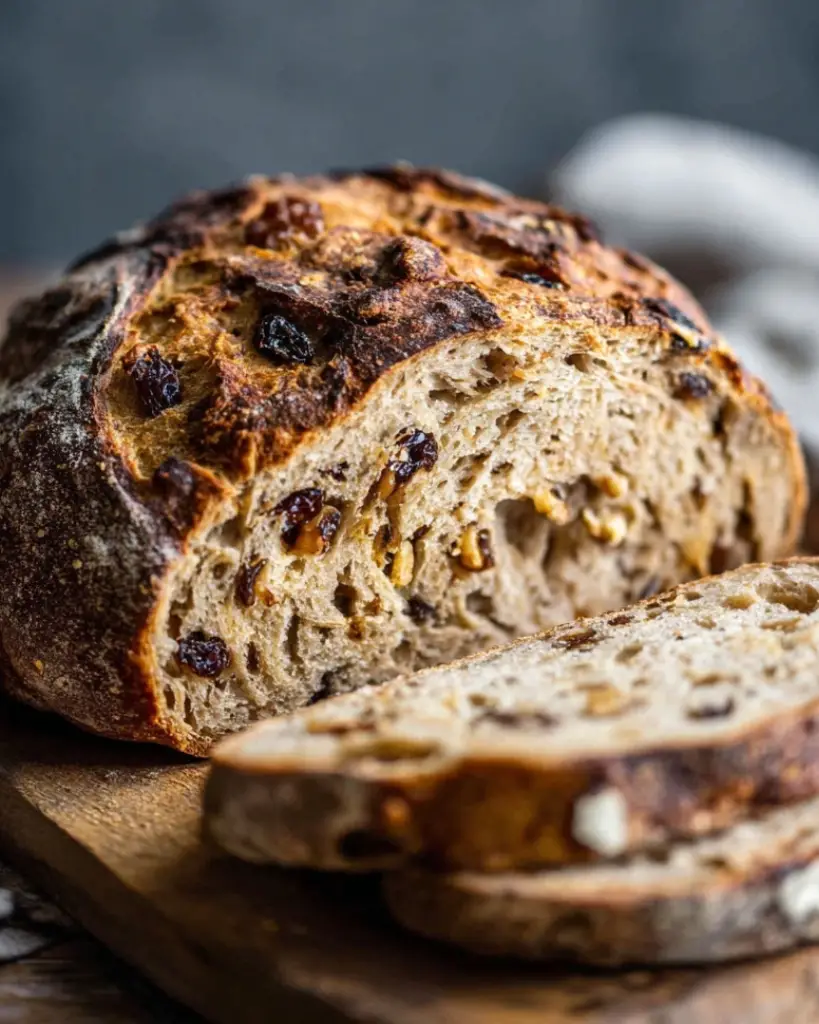
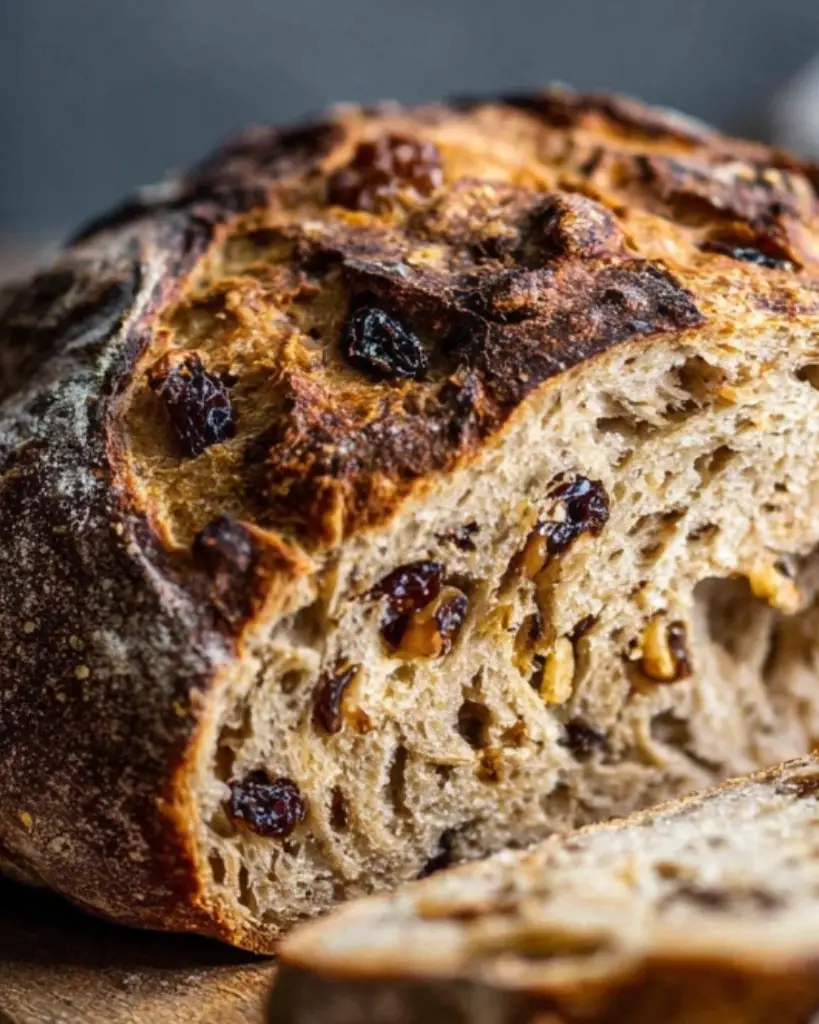
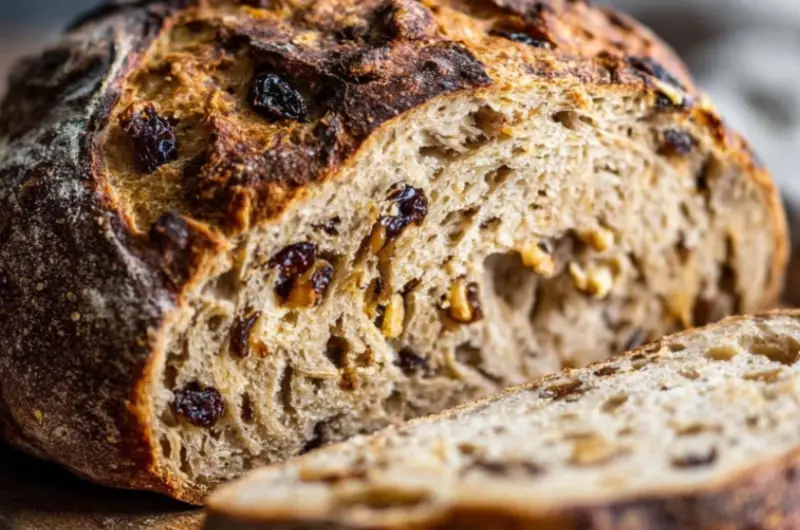
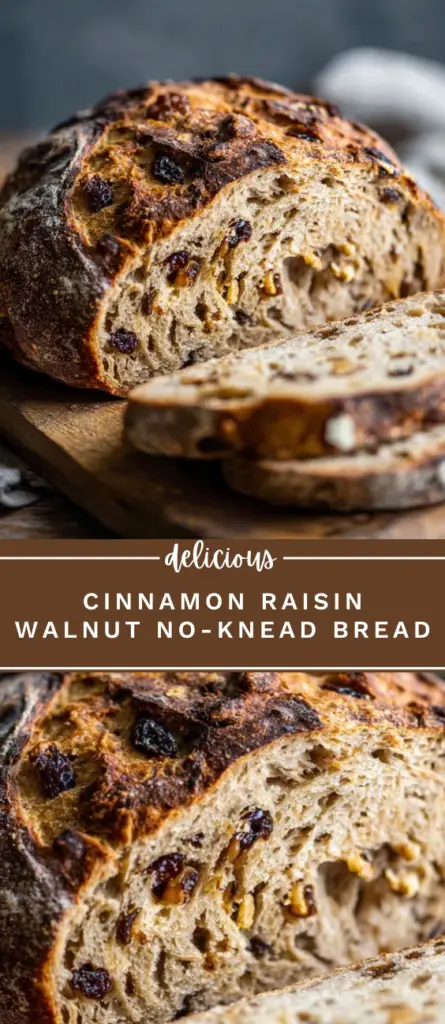
This Cinnamon Raisin Walnut No-Knead Bread is an easy homemade artisan bread made with simple pantry ingredients and long fermentation for deep flavor and a crisp crust. Packed with sweet raisins, crunchy walnuts, and warm cinnamon, this rustic Dutch oven bread has a soft, airy crumb and beautifully caramelized exterior. Perfect for breakfast, brunch, or toast, this no-knead bread recipe requires minimal effort and no special equipment beyond a covered pot. If you’re looking for a bakery-style cinnamon raisin bread with walnuts that’s easy to make at home, this foolproof recipe delivers excellent texture and rich flavor every time.
Ingredients
- 3 cups (370–390 g) unbleached all-purpose flour, plus extra for dusting
- 2 teaspoons (12 g) salt
- 3 tablespoons (43 g) sugar
- 1 tablespoon (8 g) ground cinnamon
- ½ teaspoon (3 g) instant yeast
- 1½ cups (355 ml) lukewarm water
- 1 scant cup walnuts, roughly chopped
- 1 scant cup golden raisins (regular raisins work as well)
Instructions
-
Mix the dry ingredients.
In a large mixing bowl, whisk together the flour, salt, sugar, cinnamon, and instant yeast. -
Add mix-ins and water.
Stir in the walnuts and raisins, coating them lightly with flour. Pour in the lukewarm water and mix with a spoon or spatula until a shaggy dough forms. Do not knead—the dough should look rough and slightly sticky. -
First rise (12–18 hours).
Cover the bowl tightly with plastic wrap or a damp kitchen towel. Let it rest in a warm, draft-free place for 12–18 hours. The dough is ready when it has more than doubled in size, smells slightly yeasty, and shows bubbles on the surface. -
Shape the dough.
Turn the dough out onto a lightly floured surface. Dust the top with a bit more flour. Gently fold it over onto itself twice, like closing a book. Shape it into a loose ball. Cover with a towel and let it rest for 1 hour. -
Preheat the oven and pot.
About 30 minutes before baking, place a large Dutch oven (with lid) in the oven and preheat to 450°F (230°C). Allow the pot to heat thoroughly. -
Score and bake.
Carefully remove the hot pot from the oven. Score the top of the dough with a sharp knife. Using a bench scraper or your hands, gently transfer the dough into the hot pot. Cover with the lid and bake for 30 minutes. -
Finish baking uncovered.
Remove the lid and bake for an additional 10–30 minutes, until the crust is deep brown and caramelized. -
Cool completely.
Transfer the bread to a wire rack and let it cool completely before slicing.
Tips
- Use fresh yeast for best results—if your dough doesn’t bubble after rising, your yeast may be inactive.
- For extra flavor, lightly toast the walnuts before adding them to the dough.
- If the dough feels too sticky to handle, lightly flour your hands rather than adding too much extra flour.
- Allow the bread to cool fully before slicing to avoid a gummy texture.
Variations and Substitutions
- Replace walnuts with pecans or hazelnuts for a different nutty flavor.
- Swap golden raisins for dried cranberries or chopped dried apricots.
- Use brown sugar instead of white sugar for a deeper caramel note.
- Substitute up to 1 cup of whole wheat flour for part of the all-purpose flour for a heartier loaf.
FAQs
Can I shorten the rising time?
This recipe relies on a long fermentation for flavor and texture. Reducing the time will result in a denser loaf.
What if I don’t have a Dutch oven?
You can use any oven-safe pot with a tight-fitting lid. A covered casserole dish also works.
How do I store this bread?
Store at room temperature in a paper bag or wrapped in a clean towel for up to 3 days. For longer storage, slice and freeze.
Why is my bread dense?
Possible reasons include inactive yeast, too much flour, or insufficient rising time.
Serving Suggestions
- Toast and spread with salted butter or cream cheese.
- Serve alongside coffee or tea for breakfast.
- Use thick slices for French toast.
- Pair with sharp cheddar for a sweet-savory combination.
Why You’ll Love This Recipe
- No kneading required—minimal effort.
- Long fermentation creates deep flavor and airy texture.
- Sweet cinnamon, juicy raisins, and crunchy walnuts in every bite.
- Crisp crust with a soft, tender interior.
- Perfect for breakfast, brunch, or snacking.
Cinnamon Raisin Walnut No-Knead Bread
1
servings10
minutes45
minutes2746
kcalIngredients
-
3 cups (370–390 g) unbleached all-purpose flour, plus extra for dusting
-
2 teaspoons (12 g) salt
-
3 tablespoons (43 g) sugar
-
1 tablespoon (8 g) ground cinnamon
-
½ teaspoon (3 g) instant yeast
-
1½ cups (355 ml) lukewarm water
-
1 scant cup walnuts, roughly chopped
-
1 scant cup golden raisins (regular raisins work as well)
Directions
- Mix the dry ingredients.
- In a large mixing bowl, whisk together the flour, salt, sugar, cinnamon, and instant yeast.
- Add mix-ins and water.
- Stir in the walnuts and raisins, coating them lightly with flour. Pour in the lukewarm water and mix with a spoon or spatula until a shaggy dough forms. Do not knead—the dough should look rough and slightly sticky.
- First rise (12–18 hours).
- Cover the bowl tightly with plastic wrap or a damp kitchen towel. Let it rest in a warm, draft-free place for 12–18 hours. The dough is ready when it has more than doubled in size, smells slightly yeasty, and shows bubbles on the surface.
- Shape the dough.
- Turn the dough out onto a lightly floured surface. Dust the top with a bit more flour. Gently fold it over onto itself twice, like closing a book. Shape it into a loose ball. Cover with a towel and let it rest for 1 hour.
- Preheat the oven and pot.
- About 30 minutes before baking, place a large Dutch oven (with lid) in the oven and preheat to 450°F (230°C). Allow the pot to heat thoroughly.
- Score and bake.
- Carefully remove the hot pot from the oven. Score the top of the dough with a sharp knife. Using a bench scraper or your hands, gently transfer the dough into the hot pot. Cover with the lid and bake for 30 minutes.
- Finish baking uncovered.
- Remove the lid and bake for an additional 10–30 minutes, until the crust is deep brown and caramelized.
- Cool completely.
- Transfer the bread to a wire rack and let it cool completely before slicing.


Leave a Reply