
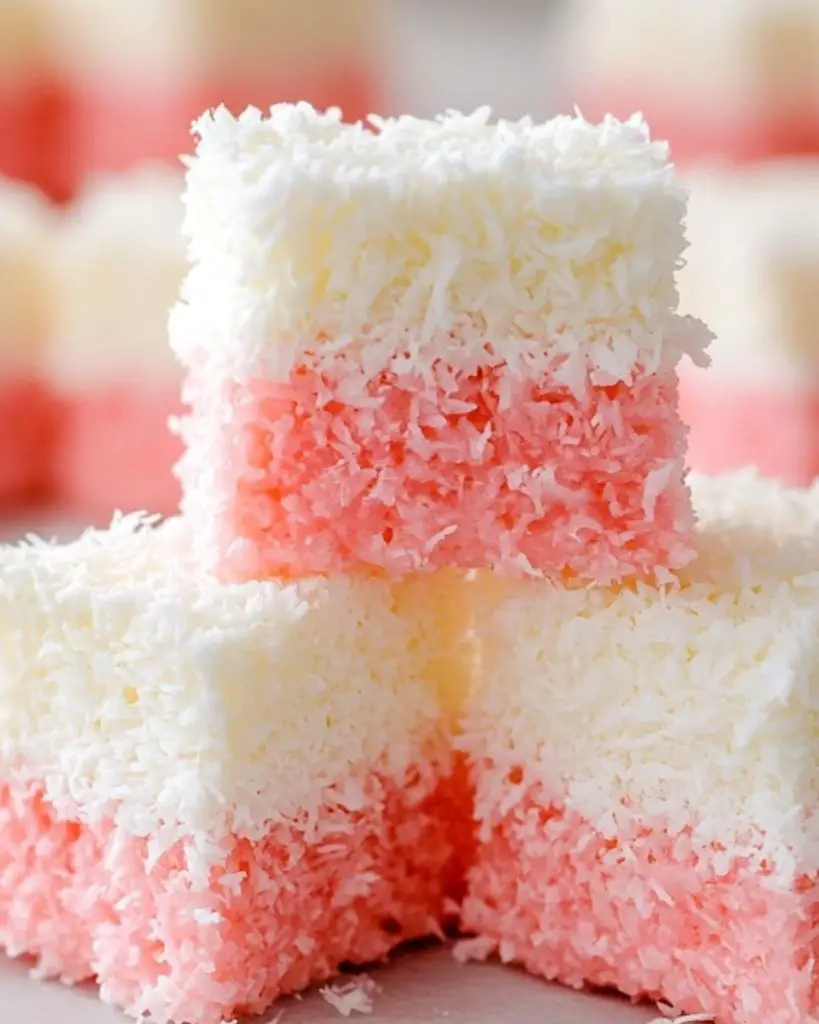
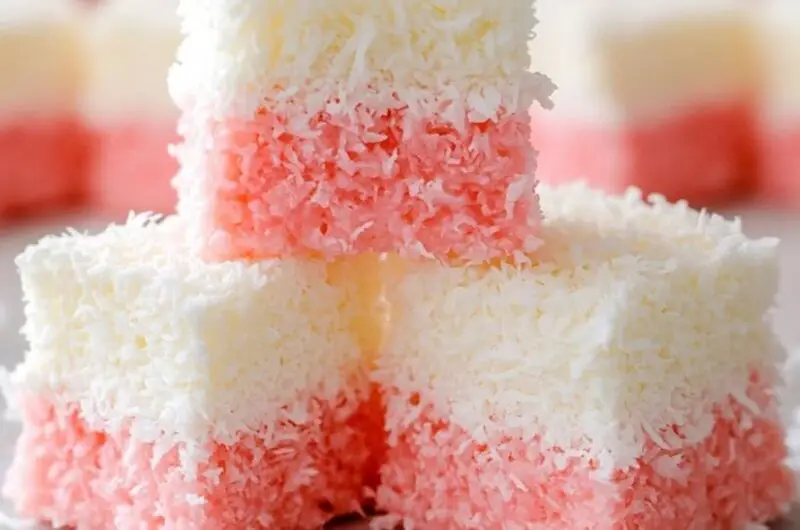
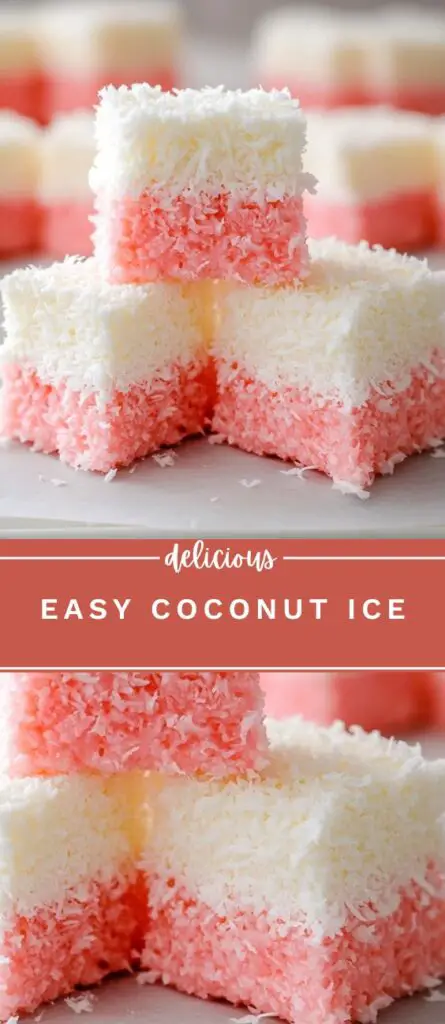
Easy coconut ice recipe made with condensed milk, icing sugar, and desiccated coconut. This no-bake sweet is perfect for holidays, homemade gifts, bake sales, or party treats. Features classic pink and white layers with a chewy texture. Simple to prepare and ready in just a few hours.
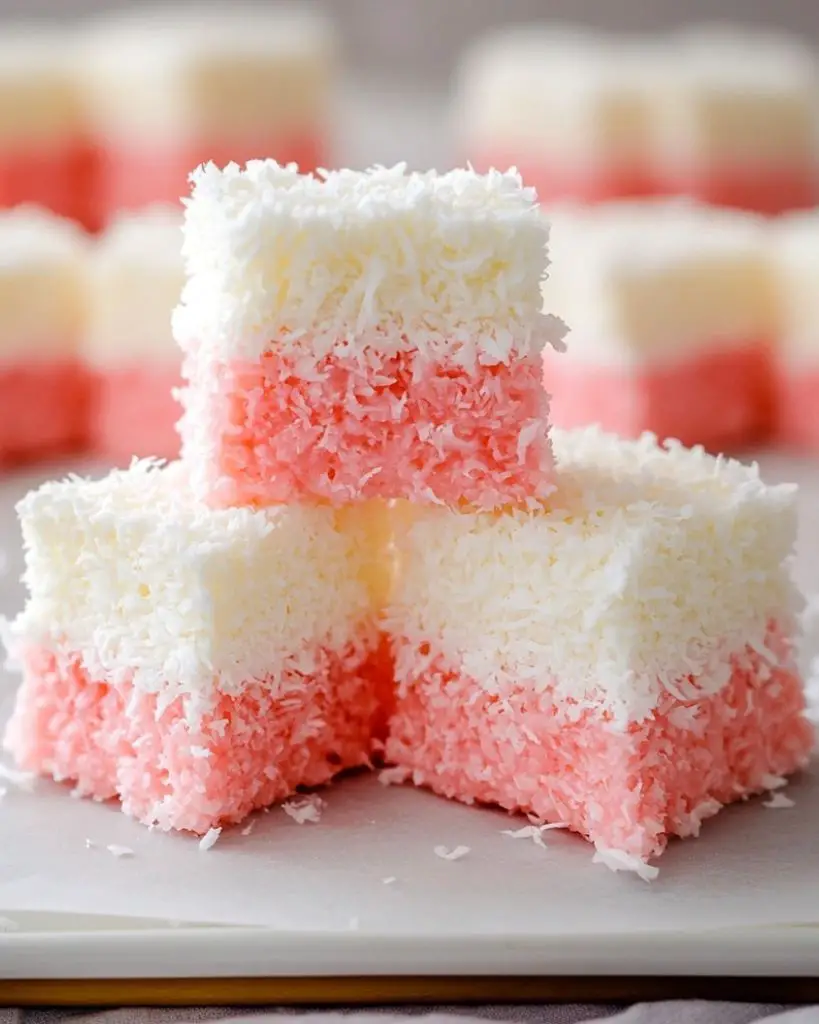
Coconut Ice is a simple, no-bake treat made with sweetened condensed milk, icing sugar, and desiccated coconut. This nostalgic layered candy features a soft, chewy texture and a signature pink-and-white finish—perfect for holidays, bake sales, or homemade gift boxes.
Ingredients
- 397 g (14 oz) sweetened condensed milk
- 400 g (3¼ cups) confectioners’ sugar (icing sugar), sifted (plus extra for dusting)
- 320 g (3¼ cups) desiccated coconut
- 2 drops red food colouring gel
Instructions
-
Divide the condensed milk:
Pour half of the condensed milk into each of two medium mixing bowls. Add the red food colouring to one bowl and stir to combine. -
Add the sugar:
Sift half of the confectioners’ sugar into each bowl and stir well. -
Add the coconut:
Add half of the desiccated coconut to each bowl and mix thoroughly using a fork until the mixtures come together into firm, shapeable balls. -
Shape the layers:
Line a board or tray with baking parchment and dust with confectioners’ sugar. Turn out the white mixture first and shape it into a square or rectangle about ¾ inch thick. Sprinkle a little more sugar on top and flatten with your hands or a rolling pin. -
Shape the pink layer:
On a separate sheet of parchment or board, form the pink mixture into a slab of similar size and thickness. -
Assemble:
Carefully place the pink layer on top of the white one. You can use parchment paper to flip it over, or transfer it gently with a large spatula. Press down slightly to stick the two layers together. -
Set and cut:
Leave uncovered at room temperature for 3 to 10 hours until firm and dry to the touch. Once set, cut into small cubes. (For reference: cut into 6 rows by 8 columns to get 48 pieces.)
Tips
- Use gel food colouring for a stronger, more vibrant pink without adding too much liquid.
- Sift the icing sugar to prevent lumps and ensure a smooth texture.
- If the mixture feels too dry, add a few drops of condensed milk; if too sticky, add a touch more icing sugar.
- Allow plenty of time for the coconut ice to dry before cutting.
Variations and Substitutions
- Flavour twist: Add a drop of vanilla, almond, or rose extract for extra aroma.
- Different colours: Try pastel green or blue for seasonal or themed treats.
- Shape options: Press into silicone moulds for festive or custom shapes.
- Vegan version: Use dairy-free condensed milk and vegan food colouring.
FAQs
How long does coconut ice keep?
Stored in an airtight container at room temperature, it lasts up to 2 weeks.
Can I freeze coconut ice?
Freezing is not recommended, as it may change the texture once thawed.
Why is my mixture crumbly?
You may need to add a bit more condensed milk or press it together more firmly. It should feel firm but moldable.
Serving Suggestions
- Great for holiday dessert platters or party trays.
- Wrap in cellophane bags for edible gifts or party favors.
- Serve alongside afternoon tea or coffee.
- Use as part of a kids’ baking activity—no heat or sharp tools needed.
Why You’ll Love This Recipe
- No-bake and beginner-friendly
- Just 4 ingredients
- Naturally gluten-free
- Perfect for gifting or sharing
- Customizable with flavours and colours
Easy Coconut Ice
48
servings10
minutesIngredients
-
397 g (14 oz) sweetened condensed milk
-
400 g (3¼ cups) confectioners’ sugar (icing sugar), sifted (plus extra for dusting)
-
320 g (3¼ cups) desiccated coconut
-
2 drops red food colouring gel
Directions
- Divide the condensed milk:
- Pour half of the condensed milk into each of two medium mixing bowls. Add the red food colouring to one bowl and stir to combine.
- Add the sugar:
- Sift half of the confectioners’ sugar into each bowl and stir well.
- Add the coconut:
- Add half of the desiccated coconut to each bowl and mix thoroughly using a fork until the mixtures come together into firm, shapeable balls.
- Shape the layers:
- Line a board or tray with baking parchment and dust with confectioners’ sugar. Turn out the white mixture first and shape it into a square or rectangle about ¾ inch thick. Sprinkle a little more sugar on top and flatten with your hands or a rolling pin.
- Shape the pink layer:
- On a separate sheet of parchment or board, form the pink mixture into a slab of similar size and thickness.
- Assemble:
- Carefully place the pink layer on top of the white one. You can use parchment paper to flip it over, or transfer it gently with a large spatula. Press down slightly to stick the two layers together.
- Set and cut:
- Leave uncovered at room temperature for 3 to 10 hours until firm and dry to the touch. Once set, cut into small cubes. (For reference: cut into 6 rows by 8 columns to get 48 pieces.)

Leave a Reply