
Easy homemade snow cones made with real fruit juice syrups and shaved ice. Perfect for summer desserts, kids’ parties, and frozen treats at home. This simple recipe uses orange, pineapple, cherry, and apple juice reduced into colorful, natural syrups. No artificial flavors or syrups needed. Great for hot weather and fun family activities.
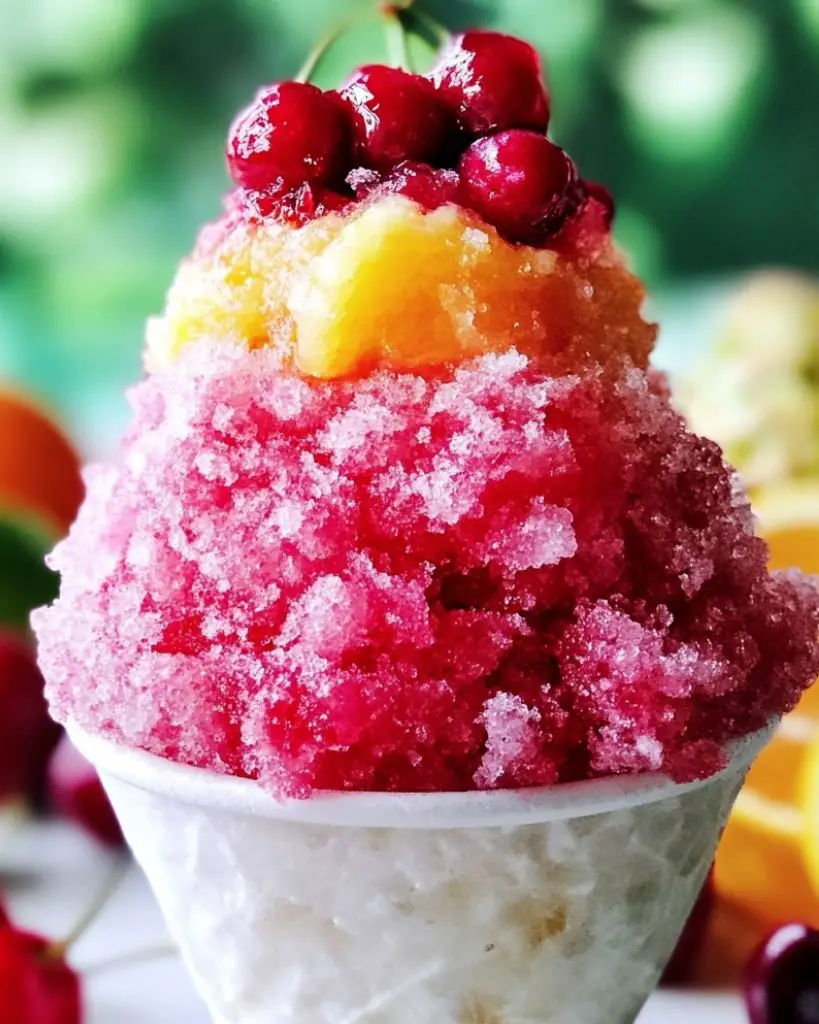
These refreshing snow cones are made with real fruit juice reduced into vibrant, naturally flavored syrups. Perfect for hot days, kids’ parties, or a fun treat at home — no artificial flavors needed.
Ingredients
For the fruit syrups:
- 750 ml (3¼ cups minus 2 tbsp) orange juice (fresh or from concentrate)
- 750 ml (3¼ cups minus 2 tbsp) pineapple juice
- 750 ml (3¼ cups minus 2 tbsp) cherry juice
- 750 ml (3¼ cups minus 2 tbsp) apple juice
- 200 g (1 cup) granulated sugar — divide into four portions of 50 g (¼ cup) each
- Food colouring gel (optional): green (apple), red (orange), yellow (pineapple)
For the snow cones:
- Shaved ice (make by pulsing ice cubes or crushed ice in a food processor until finely crushed and fluffy)
Instructions
- Make the syrups:
Pour each type of juice into its own small saucepan. Add 50 g (¼ cup) of sugar to each pan. Stir and bring to a boil. Lower the heat and simmer for 30–50 minutes, or until each syrup has reduced by about two-thirds and thickened slightly. - Add food colouring (optional):
Stir in a drop of food colouring gel to enhance the syrup’s appearance.- Green for apple
- Red for orange
- Yellow for pineapple
(Cherry juice is usually rich in colour and doesn’t need any added colouring.)
- Cool the syrups:
Let the syrups cool completely. They will thicken further as they cool. - Assemble the snow cones:
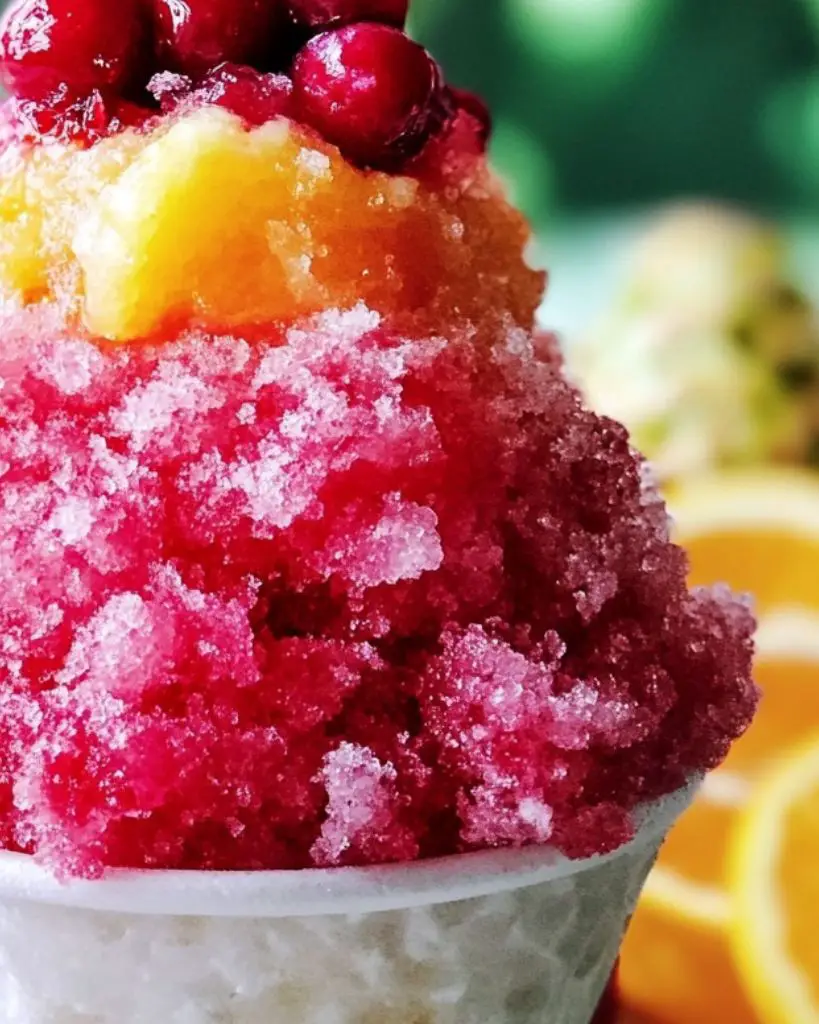
Spoon the shaved ice into cones, cups, or bowls. Drizzle 1–2 tablespoons of syrup over each portion. Serve immediately.
Tips
- Use a high-power food processor or blender to create soft, fluffy shaved ice quickly.
- Cool the syrups fully before using — warm syrup will melt the ice faster.
- Store leftover syrup in sealed jars or bottles in the fridge for up to 1 week.
Variations and Substitutions
- Try different juices: Grape, blueberry, or mango juice work beautifully too.
- Make it sugar-free: Use a sugar substitute like erythritol or stevia (adjust quantity to taste).
- Natural coloring: Use beet juice for red, spinach water for green, or turmeric for yellow if avoiding food dyes.
- Layer flavors: Add multiple syrup flavors to each snow cone for a rainbow effect.
FAQs
Can I use bottled juice?
Yes. Bottled or carton juice (not from concentrate) works well for this recipe. Just check that it’s 100% juice with no added sweeteners.
How much syrup does this make?
Each batch of juice yields about 250–300 ml (1–1¼ cups) of syrup after reduction.
Can I freeze the syrup?
Yes. Pour cooled syrup into an ice cube tray and freeze for up to 1 month. Defrost before using.
Serving Suggestions
- Serve in colourful paper cones for a traditional fairground-style treat.
- Add a drizzle of condensed milk on top for a creamy snow cone twist.
- Use for DIY snow cone bars at parties, letting guests mix and match flavors.
- Turn leftovers into popsicles by freezing the syrup with a little extra water.
Why You’ll Love This Recipe
- Naturally flavored and made from real juice — no artificial syrups.
- Customizable: Choose your favorite juices and colors.
- Kid-friendly and party-ready: Great for birthdays, BBQs, or summer fun.
- No fancy equipment required: Just a saucepan and food processor.

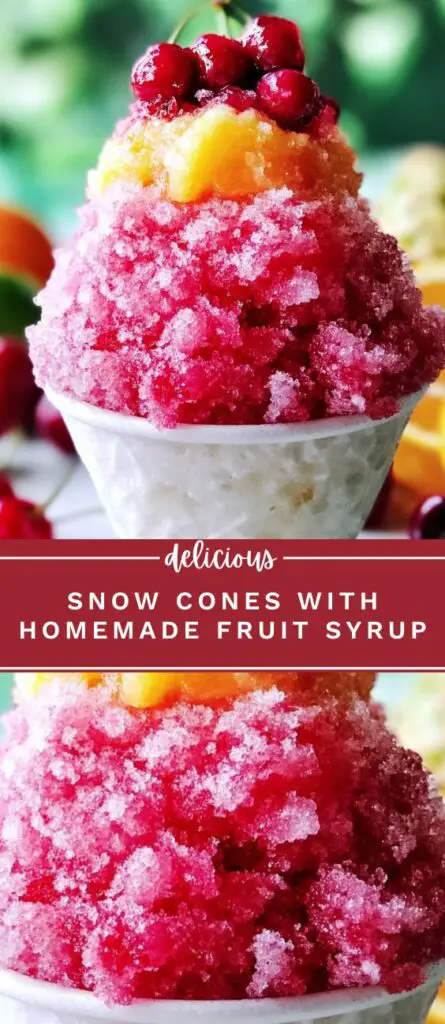
Snow Cones with Homemade Fruit Syrup
40
servings10
minutes50
minutesIngredients
For the fruit syrups:
750 ml (3¼ cups minus 2 tbsp) orange juice (fresh or from concentrate)
750 ml (3¼ cups minus 2 tbsp) pineapple juice
750 ml (3¼ cups minus 2 tbsp) cherry juice
750 ml (3¼ cups minus 2 tbsp) apple juice
200 g (1 cup) granulated sugar — divide into four portions of 50 g (¼ cup) each
Food colouring gel (optional): green (apple), red (orange), yellow (pineapple)
For the snow cones:
Shaved ice (make by pulsing ice cubes or crushed ice in a food processor until finely crushed and fluffy)
Directions
- Make the syrups:
- Pour each type of juice into its own small saucepan. Add 50 g (¼ cup) of sugar to each pan. Stir and bring to a boil. Lower the heat and simmer for 30–50 minutes, or until each syrup has reduced by about two-thirds and thickened slightly.
- Add food colouring (optional):
- Stir in a drop of food colouring gel to enhance the syrup’s appearance.
- Green for apple
- Red for orange
- Yellow for pineapple
- (Cherry juice is usually rich in colour and doesn’t need any added colouring.)
- Cool the syrups:
- Let the syrups cool completely. They will thicken further as they cool.
- Assemble the snow cones:
- Spoon the shaved ice into cones, cups, or bowls. Drizzle 1–2 tablespoons of syrup over each portion. Serve immediately.

Leave a Reply