
Make homemade cream cheese mints with just a few simple ingredients. This no-bake recipe is perfect for holidays, weddings, baby showers, and special events. Customize with food coloring to match any theme. These soft, peppermint-flavored mints are easy to make, freeze well, and are a popular addition to dessert tables and candy trays. Ideal for make-ahead party treats or edible gifts.
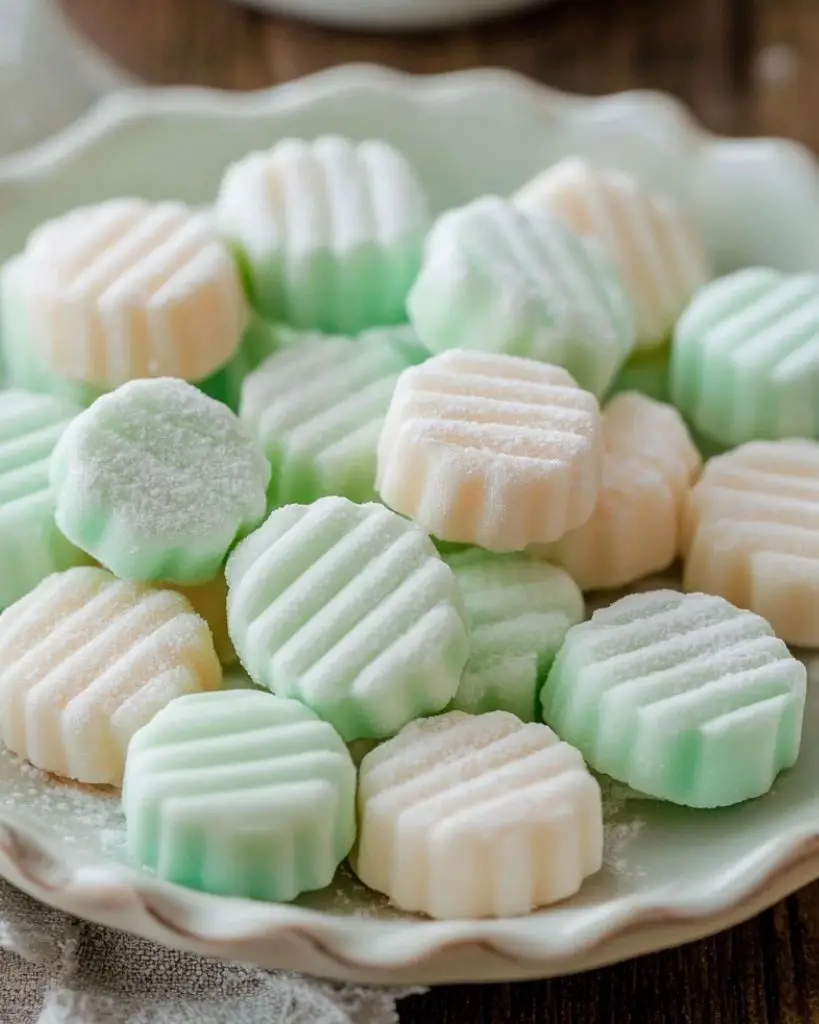
These smooth, melt-in-your-mouth cream cheese mints are perfect for weddings, holidays, baby showers, or anytime you need a simple, make-ahead sweet. They’re easy to customize with colors and shapes, and they store beautifully.
Ingredients
- 8 oz full-fat cream cheese, softened
- 2 Tbsp unsalted butter, softened
- 8 cups (about 2 lbs) powdered sugar, plus more for shaping
- ¼ tsp fine sea salt
- 1½ tsp peppermint extract (adjust to taste)
- Gel food coloring, optional
Instructions
- Mix Cream Cheese and Butter:
In the bowl of a stand mixer fitted with the paddle attachment, beat cream cheese and butter on medium speed until completely smooth and creamy. - Add Sugar and Flavoring:
With the mixer running on low, add the salt and 2 cups of powdered sugar. Mix until incorporated. Add peppermint extract, then gradually add the remaining powdered sugar, about 1 heaping tablespoon at a time, mixing thoroughly between each addition. Scrape down the bowl as needed. Once all the sugar is added, beat for an additional 1–2 minutes until the dough is smooth and firm. - Color the Dough (Optional):
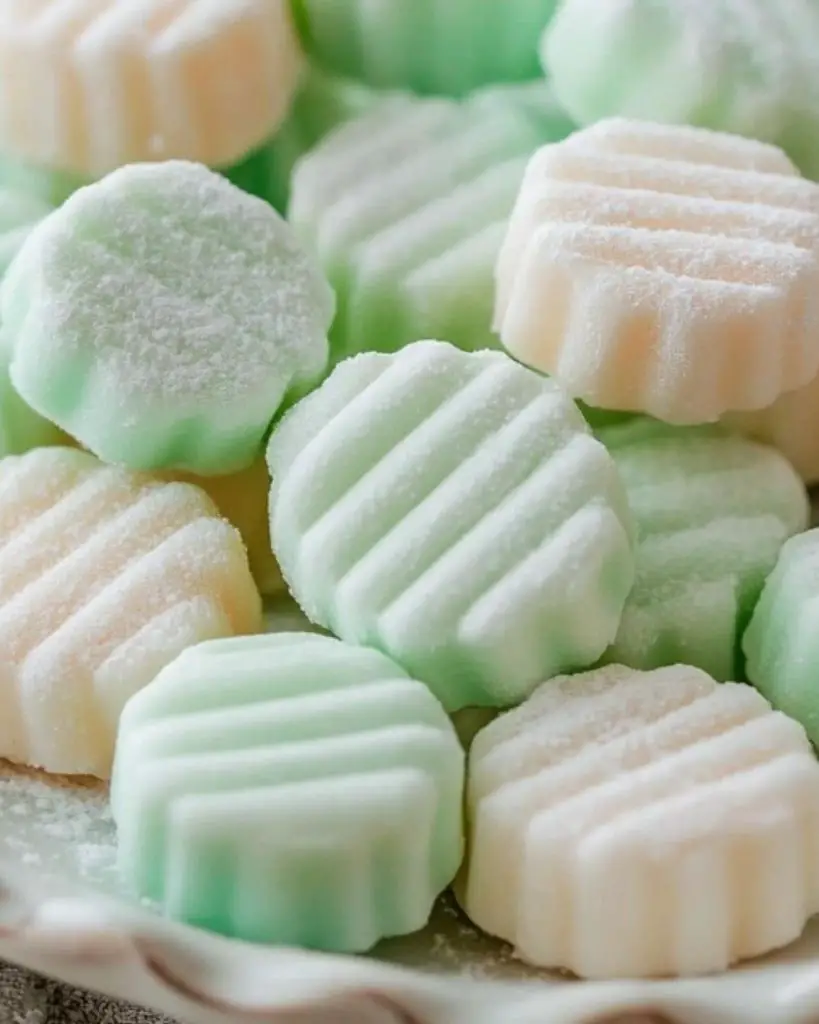
If using gel food coloring, divide the dough into portions for each desired color. Mix in a small amount of gel coloring to reach your preferred shade. A single drop goes a long way for pastel tones. - Shape the Mints:
Work with about ¼ of the dough at a time, keeping the rest covered to prevent drying. Roll dough into small balls, roughly 1 teaspoon each. Place them on a parchment-lined baking sheet, spacing them about 2 inches apart. Roll each ball until smooth to help prevent cracking. - Flatten with Fork:
Dip a fork in powdered sugar and gently press each mint to flatten slightly and create a decorative imprint. Repeat with remaining dough. - Dry and Store:
Let the mints air-dry at room temperature for at least 2 hours. Once dry, transfer to an airtight container and refrigerate for up to 1 month or freeze for up to 6 months.
Tips
- Use Full-Fat Cream Cheese: Lower-fat versions can make the dough too soft or sticky.
- Don’t Overwork the Dough: Once the powdered sugar is fully incorporated, avoid overmixing, which can lead to a sticky texture.
- Keep Dough Covered: It dries out quickly—cover unused portions with plastic wrap or a damp towel.
- Let Mints Dry Before Storing: This helps prevent them from sticking together in storage.
Variations and Substitutions
- Flavor Options: Try vanilla, almond, or lemon extract in place of peppermint.
- Color Customization: Use any gel food coloring to match the season or event. Avoid liquid coloring—it may change the texture.
- Shape Alternatives: Press into silicone molds or use candy stamps for themed events.
FAQs
Can I use a hand mixer instead of a stand mixer?
Yes, but it may require more effort, especially as the dough thickens.
Do these need to be refrigerated?
Yes. Store in the fridge in an airtight container or freeze for longer storage.
How many mints does this make?
This recipe yields approximately 150–180 small mints, depending on size.
Serving Suggestions
- Arrange on a dessert tray for parties or events.
- Package in mini cupcake liners for gifting.
- Add to cookie platters during the holidays.
- Use pastel colors for baby showers or weddings.
Why You’ll Love This Recipe
- Easy to Make: No baking required—just mix, roll, and press.
- Perfect for Events: Great for gifting or serving at gatherings.
- Freezer-Friendly: Make ahead and freeze for stress-free prep.
- Customizable: Change the flavor or color to suit any occasion.

Cream Cheese Mints Recipe
95
servings1
hour40
minutesIngredients
8 oz full-fat cream cheese, softened
2 Tbsp unsalted butter, softened
8 cups (about 2 lbs) powdered sugar, plus more for shaping
¼ tsp fine sea salt
1½ tsp peppermint extract (adjust to taste)
Gel food coloring, optional
Directions
- Mix Cream Cheese and Butter:
- In the bowl of a stand mixer fitted with the paddle attachment, beat cream cheese and butter on medium speed until completely smooth and creamy.
- Add Sugar and Flavoring:
- With the mixer running on low, add the salt and 2 cups of powdered sugar. Mix until incorporated. Add peppermint extract, then gradually add the remaining powdered sugar, about 1 heaping tablespoon at a time, mixing thoroughly between each addition. Scrape down the bowl as needed. Once all the sugar is added, beat for an additional 1–2 minutes until the dough is smooth and firm.
- Color the Dough (Optional):
- If using gel food coloring, divide the dough into portions for each desired color. Mix in a small amount of gel coloring to reach your preferred shade. A single drop goes a long way for pastel tones.
- Shape the Mints:
- Work with about ¼ of the dough at a time, keeping the rest covered to prevent drying. Roll dough into small balls, roughly 1 teaspoon each. Place them on a parchment-lined baking sheet, spacing them about 2 inches apart. Roll each ball until smooth to help prevent cracking.
- Flatten with Fork:
- Dip a fork in powdered sugar and gently press each mint to flatten slightly and create a decorative imprint. Repeat with remaining dough.
- Dry and Store:
- Let the mints air-dry at room temperature for at least 2 hours. Once dry, transfer to an airtight container and refrigerate for up to 1 month or freeze for up to 6 months.


Leave a Reply