
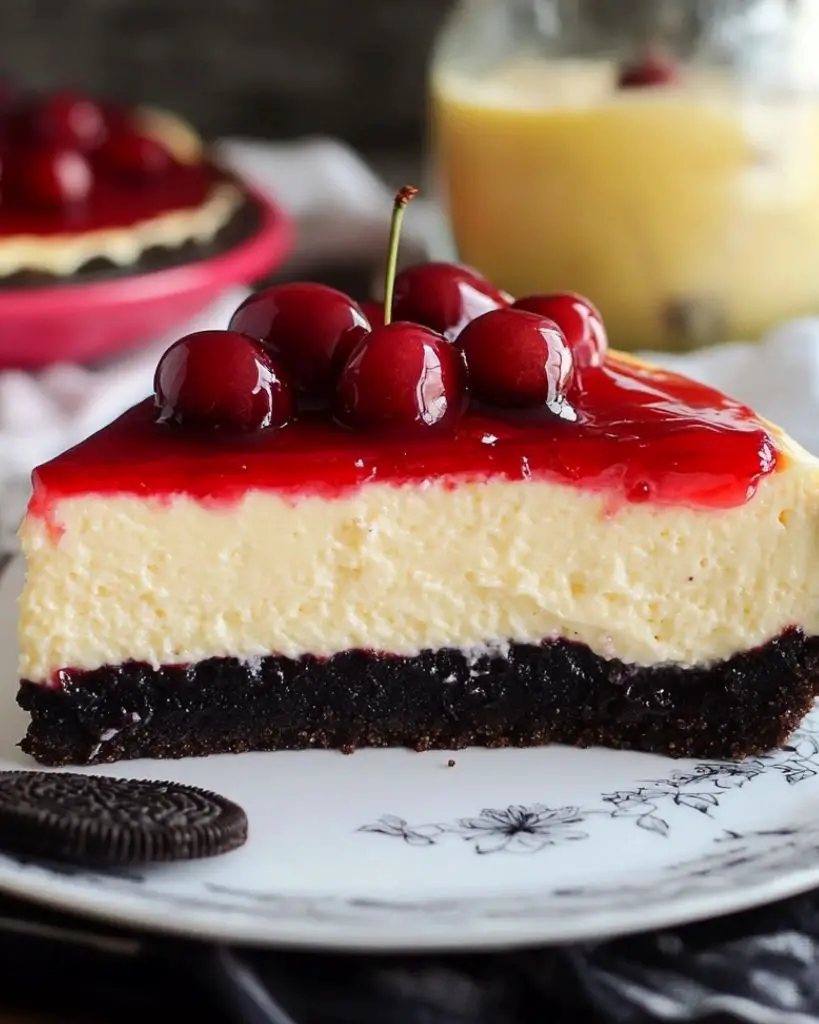
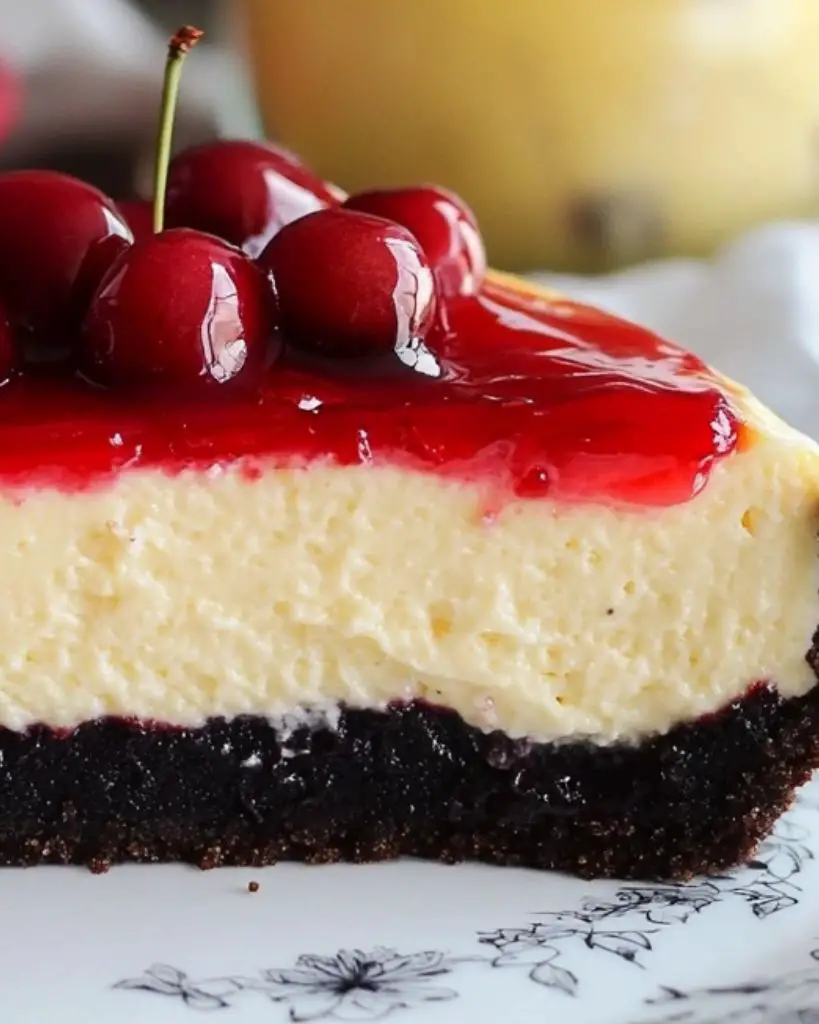
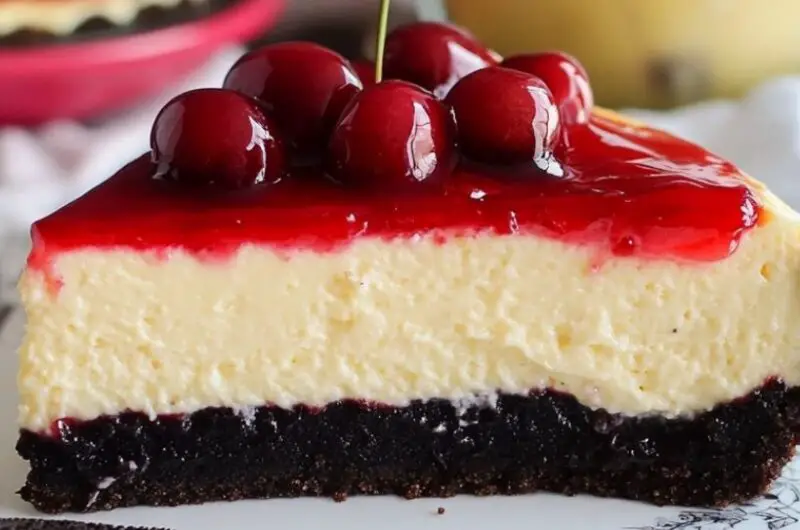
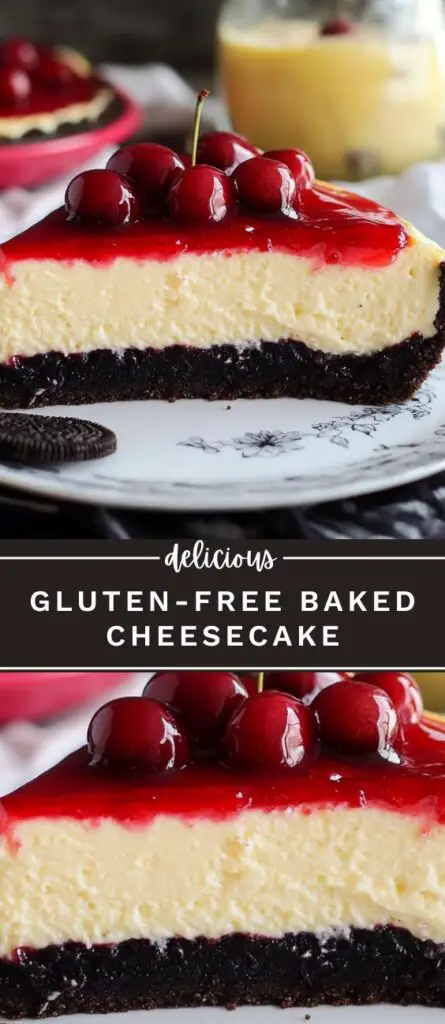
This gluten-free baked cheesecake features a rich, creamy filling with a crisp Oreo crust. Made with simple ingredients like cream cheese, sugar, eggs, and vanilla bean paste, it’s perfect for those seeking a low-carb, gluten-free dessert. The cheesecake is baked in a water bath for a smooth, crack-free texture and topped with cherry pie filling for added sweetness. Ideal for special occasions, holidays, or anytime you need a gluten-free dessert option.
Ingredients
For the Crust:
- 20 gluten-free Oreos
- ¼ cup butter, melted and cooled
For the Cheesecake Filling:
- 4 packs cream cheese, softened
- 1⅓ cups sugar
- Pinch of salt
- 4 eggs, room temperature
- 2 tablespoons vanilla bean paste (e.g., Singing Dog)
- ⅔ cup heavy cream, room temperature
- ⅔ cup sour cream, room temperature
For the Topping:
- 1 can cherry pie filling (corn syrup-free)
Instructions
- Preheat oven to 350°F (175°C).
- Make the crust:
- Add gluten-free Oreos to a food processor and pulse until finely ground.
- Add melted butter and pulse until well combined.
- Press the mixture firmly into the bottom of a 9-inch springform pan. Use the bottom of a measuring cup for an even surface.
- Bake the crust for 10 minutes, then let it cool completely.
- Lower oven temperature to 325°F (163°C).
- Make the cheesecake filling:
- In a stand mixer fitted with a paddle attachment, beat softened cream cheese on high speed for 4 minutes until fluffy.
- Add sugar and beat for another 4 minutes.
- Mix in salt and vanilla bean paste until combined.
- With the mixer on low, add eggs one at a time, mixing for 30 seconds between each addition.
- Add sour cream and heavy cream, mixing until smooth and fully incorporated.
- Prepare for baking:
- Wrap the bottom and sides of the springform pan tightly in three layers of aluminum foil to prevent leaks.
- Pour the cheesecake batter over the cooled crust.
- Place the wrapped pan into a large roasting pan. Pour hot water into the roasting pan until it reaches halfway up the sides of the springform pan.
- Bake:
- Bake for 85–90 minutes. The top should be lightly golden and the center should still have a slight jiggle.
- Turn off the oven, crack the door open, and let the cheesecake cool inside for 1 hour.
- Cool and chill:
- Remove the pan from the water bath. Let the cheesecake cool on the counter for another hour.
- Once fully cooled, cover tightly with plastic wrap and refrigerate for at least 4 hours, preferably overnight.
- Finish and serve:
- Once chilled and set, spread cherry topping over the cheesecake just before serving.
Tips
- Use room-temperature ingredients to avoid lumps in the batter.
- Make sure to tightly wrap your pan to prevent water from seeping in during the water bath.
- Let the cheesecake cool gradually to avoid cracks on top.
Variations and Substitutions
- Crust options: Use gluten-free graham crackers or almond flour crust for a different flavor.
- Toppings: Swap cherry topping for blueberry, strawberry, or chocolate ganache.
- Dairy-free option: Use dairy-free cream cheese, sour cream, and heavy cream alternatives for a dairy-free version.
FAQs
Can I make this ahead of time?
Yes, this cheesecake can be made a day in advance and stored in the refrigerator until ready to serve.
What’s the purpose of the water bath?
It helps the cheesecake bake evenly and prevents cracking.
Can I freeze this cheesecake?
Yes, you can freeze it (without the topping) for up to 2 months. Thaw in the fridge overnight before serving.
Serving Suggestions
- Serve chilled with cherry topping or a drizzle of chocolate sauce.
- Pair with coffee or a glass of dessert wine.
- Add fresh berries and whipped cream for a bright, fresh finish.
Why You’ll Love This Recipe
- Rich, creamy texture with a smooth finish
- Naturally gluten-free with easy-to-find ingredients
- Beautiful presentation for holidays and special occasions
- Perfect balance of sweet, tangy, and chocolatey flavors
Gluten-Free Baked Cheesecake
8
servings15
minutes1
hour20
minutesIngredients
For the Crust:
20 gluten-free Oreos
¼ cup butter, melted and cooled
For the Cheesecake Filling:
4 packs cream cheese, softened
1⅓ cups sugar
Pinch of salt
4 eggs, room temperature
2 tablespoons vanilla bean paste (e.g., Singing Dog)
⅔ cup heavy cream, room temperature
⅔ cup sour cream, room temperature
For the Topping:
1 can cherry pie filling (corn syrup-free)
Directions
- Preheat oven to 350°F (175°C).
- Make the crust:
- Add gluten-free Oreos to a food processor and pulse until finely ground.
- Add melted butter and pulse until well combined.
- Press the mixture firmly into the bottom of a 9-inch springform pan. Use the bottom of a measuring cup for an even surface.
- Bake the crust for 10 minutes, then let it cool completely.
- Lower oven temperature to 325°F (163°C).
- Make the cheesecake filling:
- In a stand mixer fitted with a paddle attachment, beat softened cream cheese on high speed for 4 minutes until fluffy.
- Add sugar and beat for another 4 minutes.
- Mix in salt and vanilla bean paste until combined.
- With the mixer on low, add eggs one at a time, mixing for 30 seconds between each addition.
- Add sour cream and heavy cream, mixing until smooth and fully incorporated.
- Prepare for baking:
- Wrap the bottom and sides of the springform pan tightly in three layers of aluminum foil to prevent leaks.
- Pour the cheesecake batter over the cooled crust.
- Place the wrapped pan into a large roasting pan. Pour hot water into the roasting pan until it reaches halfway up the sides of the springform pan.
- Bake:
- Bake for 85–90 minutes. The top should be lightly golden and the center should still have a slight jiggle.
- Turn off the oven, crack the door open, and let the cheesecake cool inside for 1 hour.
- Cool and chill:
- Remove the pan from the water bath. Let the cheesecake cool on the counter for another hour.
- Once fully cooled, cover tightly with plastic wrap and refrigerate for at least 4 hours, preferably overnight.
- Finish and serve:
- Once chilled and set, spread cherry topping over the cheesecake just before serving.

Leave a Reply