
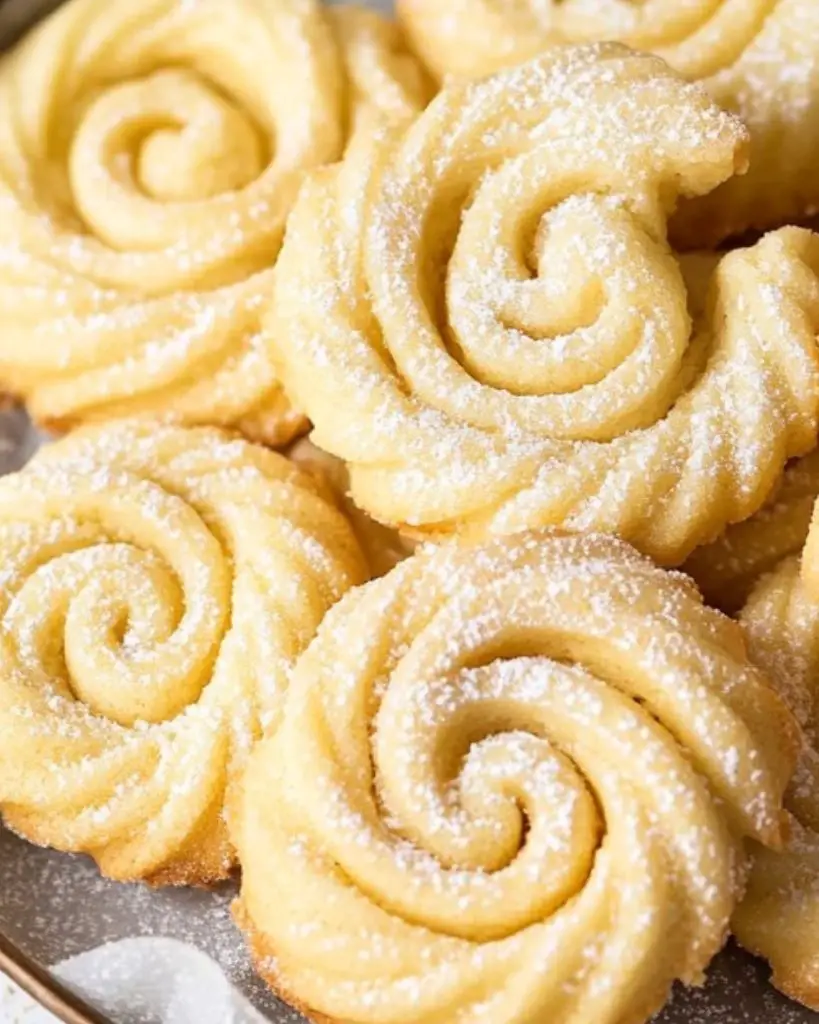
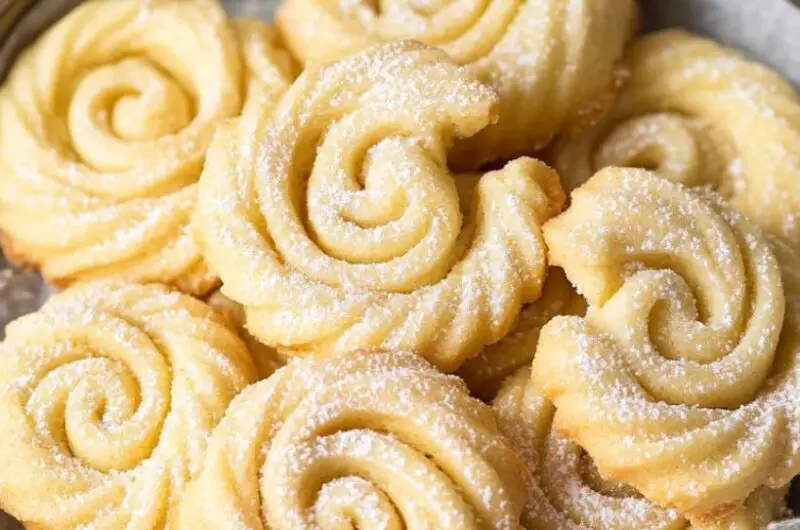
Crisp and buttery Danish butter cookies made with simple ingredients like flour, butter, powdered sugar, and vanilla. This easy cookie recipe is perfect for Christmas baking, edible gifts, or tea time. Includes tips for piping perfect shapes and baking evenly golden cookies that hold their definition.
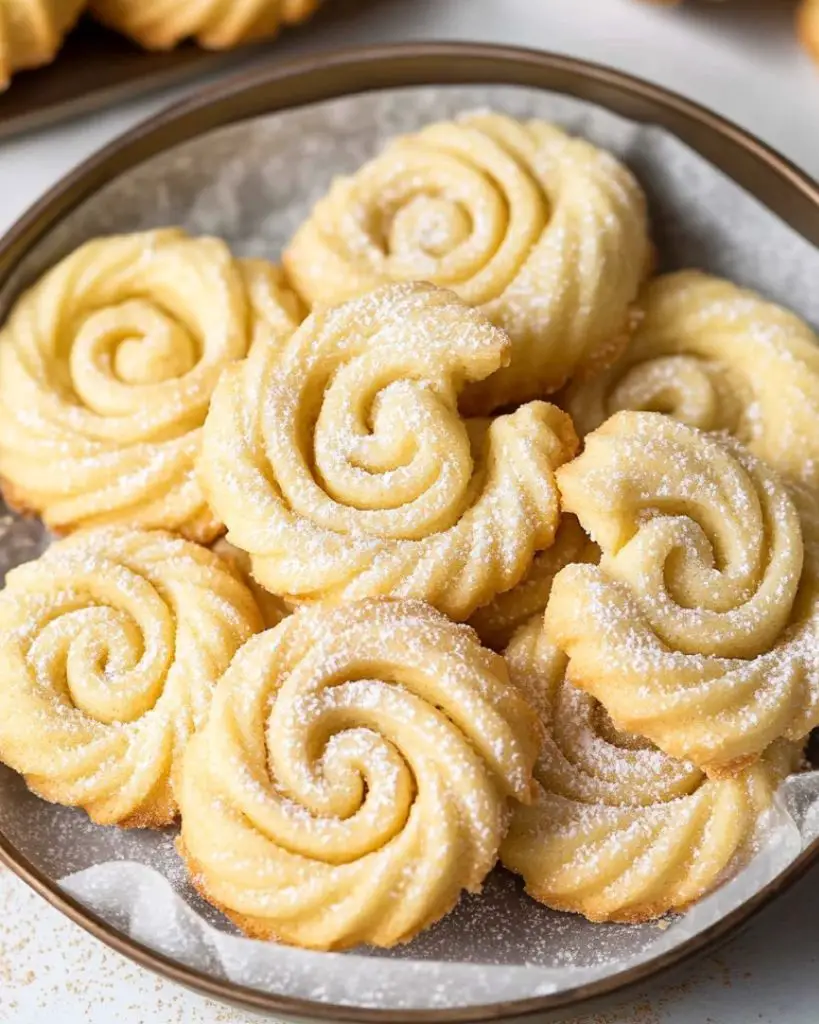
These classic Danish butter cookies are crisp, tender, and full of buttery vanilla flavor. Made with simple ingredients and piped into elegant shapes, they’re perfect for holidays, gifting, or serving with a warm drink.
Ingredients
- 2 sticks (227g) salted butter, room temperature
- 1 cup (113g) powdered sugar
- 1 large egg, room temperature
- 1 tsp vanilla extract
- 2 cups (250g) all-purpose flour, sifted
Instructions
- Cream the butter and sugar: In a large bowl, beat the room temperature butter and powdered sugar together until smooth and creamy. You can use a stand mixer, hand mixer, or mix by hand.
- Add egg and vanilla: Mix in the egg and vanilla extract until mostly combined. The mixture may look slightly curdled—this is normal.
- Incorporate the flour: Add half of the sifted flour and mix until just combined. Add the rest of the flour and continue mixing until a very soft dough forms. Avoid overmixing.
- Prepare for piping: Transfer the dough to a piping bag fitted with a large star tip. For best results, use a sturdy reusable piping bag. Don’t overfill the bag—work in batches for more control.
- Pipe the cookies: Pipe the dough onto a parchment-lined baking sheet in your desired shapes (circles, rosettes, or S-shapes). Leave a little space between cookies to allow for spreading.
- Chill the dough: Place the tray in the refrigerator for at least 1 hour. Chilling is essential to help the cookies hold their shape during baking.
- Bake: While the cookies chill, preheat your oven to 325°F (165°C). Bake the cookies for 15 minutes, or until the edges are just starting to turn golden brown.
- Cool: Let the cookies rest on the baking sheet for 5 minutes, then transfer them to a wire rack to cool completely.
- Optional – dip in chocolate: For a finishing touch, dip some of the cooled cookies in tempered chocolate.
Tips
- For best piping control, avoid overfilling the piping bag.
- Use a reusable piping bag and large closed star tip (like Wilton 1M or Ateco 846) for defined shapes.
- Chill the piped cookies for at least an hour—this helps prevent spreading.
- Sift the flour for a smoother dough and easier mixing.
Variations and Substitutions
- Unsalted butter: Use unsalted butter and add ½ tsp of salt.
- Flavor options: Swap vanilla for almond, lemon, or orange extract.
- Add-ins: Sprinkle with sugar before baking or drizzle/dip in dark, milk, or white chocolate after baking.
- Shapes: Use a cookie press instead of piping for more consistent shapes.
FAQs
Can I make the dough in advance?
Yes. You can refrigerate the dough for up to 2 days or freeze it for up to 1 month. Let it soften slightly before piping.
Why did my cookies lose their shape?
They likely weren’t chilled long enough. Make sure to refrigerate for at least 1 hour after piping.
Can I use a cookie press instead of piping?
Absolutely. A cookie press works well and produces evenly shaped cookies.
Serving Suggestions
- Serve with coffee, tea, or hot chocolate.
- Package in a tin or box for homemade holiday gifts.
- Arrange on a dessert platter for festive gatherings.
Why You’ll Love This Recipe
- Simple ingredients: Made with pantry staples.
- Classic taste: Buttery, crisp, and lightly sweet.
- Versatile: Great plain, sugared, or dipped in chocolate.
- Holiday favorite: Beautiful and perfect for gifting or cookie swaps.
Danish Butter Cookies
24
servings20
minutes15
minutesIngredients
-
2 sticks (227g) salted butter, room temperature
-
1 cup (113g) powdered sugar
-
1 large egg, room temperature
-
1 tsp vanilla extract
-
2 cups (250g) all-purpose flour, sifted
Directions
- Cream the butter and sugar: In a large bowl, beat the room temperature butter and powdered sugar together until smooth and creamy. You can use a stand mixer, hand mixer, or mix by hand.
- Add egg and vanilla: Mix in the egg and vanilla extract until mostly combined. The mixture may look slightly curdled—this is normal.
- Incorporate the flour: Add half of the sifted flour and mix until just combined. Add the rest of the flour and continue mixing until a very soft dough forms. Avoid overmixing.
- Prepare for piping: Transfer the dough to a piping bag fitted with a large star tip. For best results, use a sturdy reusable piping bag. Don’t overfill the bag—work in batches for more control.
- Pipe the cookies: Pipe the dough onto a parchment-lined baking sheet in your desired shapes (circles, rosettes, or S-shapes). Leave a little space between cookies to allow for spreading.
- Chill the dough: Place the tray in the refrigerator for at least 1 hour. Chilling is essential to help the cookies hold their shape during baking.
- Bake: While the cookies chill, preheat your oven to 325°F (165°C). Bake the cookies for 15 minutes, or until the edges are just starting to turn golden brown.
- Cool: Let the cookies rest on the baking sheet for 5 minutes, then transfer them to a wire rack to cool completely.
- Optional – dip in chocolate: For a finishing touch, dip some of the cooled cookies in tempered chocolate.


Leave a Reply