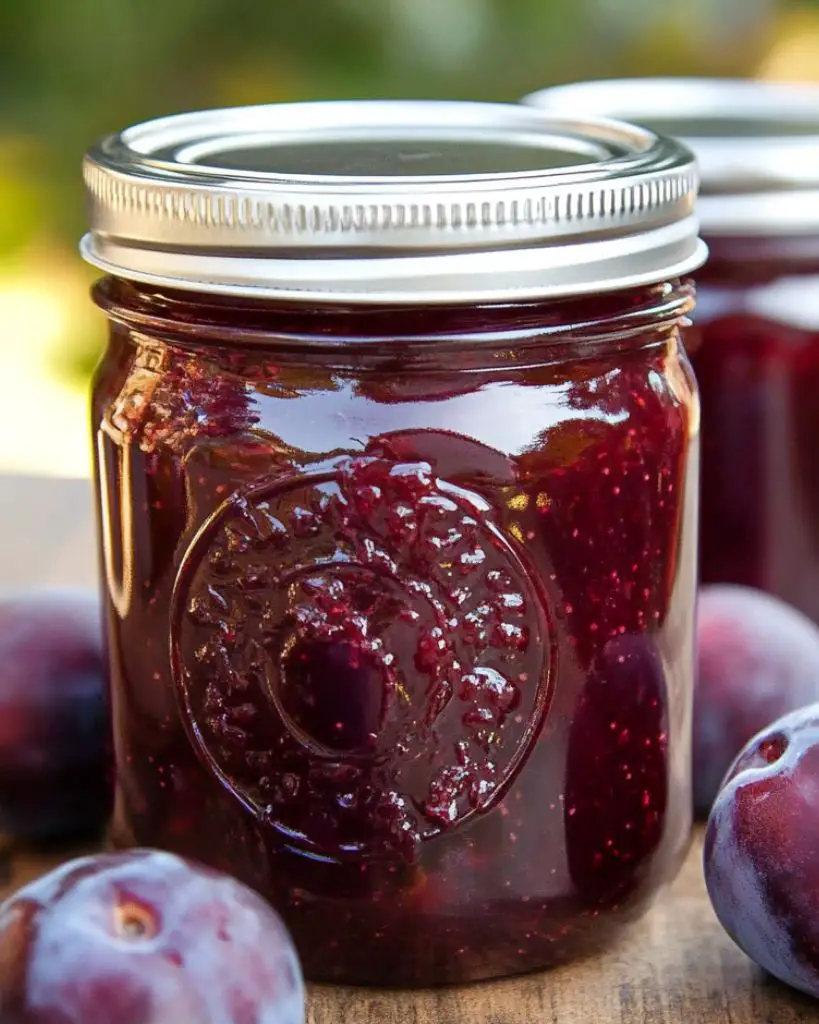
Make homemade plum jam without peeling or pectin using just two simple ingredients. This easy plum jam recipe uses a natural thickening method for a rich texture and deep flavor. Perfect for spreading on toast, pairing with cheese, or adding to desserts. Get tips on canning, storage, and variations to customize your jam. Preserve fresh plums and create a long-lasting pantry staple with this straightforward recipe.
Ingredients
- 12 lbs sweet ripe plums, rinsed
- 4 1/2 cups granulated sugar
- 8 pint-sized jars with lids
Instructions
Preparing the Plums
- Pit and halve the plums, then place them in a large mixing bowl.
- Sprinkle the sugar over the plums and stir until evenly coated.
- Let the mixture sit for 1 hour to allow the plums to release their juices.
Cooking the Jam
- Transfer the plums and sugar mixture to a large pot.
- Bring to a boil, stirring occasionally, until the mixture bubbles evenly.
- Reduce heat and simmer for 10 minutes, then turn off the heat and allow it to cool to room temperature.
- Repeat the boiling and cooling process three more times. On the final boil, reduce the heat and stir frequently to prevent scorching.
Sterilizing the Jars
- Wash jars and lids with warm soapy water, then dry them in an oven at 215°F for 20 minutes or until completely dry.
- Boil the lids for 5 minutes to sterilize them.
Filling and Processing the Jam
- While the jam is still hot, use a glass measuring cup and funnel to transfer it into the sterilized jars, leaving about 1/2 inch of space at the top.
- Secure the lids tightly but do not over-tighten, as air bubbles need to escape during processing.
- Place the sealed jars into a canning pot, ensuring they are covered with 1-2 inches of water.
- Bring to a boil and process for 15 minutes.
- Remove jars from the pot and let them sit at room temperature undisturbed for 12-24 hours.
- Listen for a “pop” sound indicating a proper seal. After 24 hours, check the seal by pressing the center of the lid; if it does not move, the seal is set. If unsealed, refrigerate and consume within 3 months.
Tips
- Use fully ripe, sweet plums for the best natural sweetness and flavor.
- Stir frequently during the final boil to prevent burning.
- If your jam is too thin, extend the boiling time slightly to thicken it.
- Store sealed jars in a cool, dark place for up to a year.
Variations and Substitutions
- Lower Sugar Option: Reduce sugar slightly if your plums are very sweet, but keep in mind that sugar helps with preservation.
- Flavor Enhancements: Add a cinnamon stick or vanilla bean while cooking for extra depth of flavor.
- Chunky or Smooth: Mash the plums for a smoother consistency, or leave them in larger pieces for a chunkier texture.
- Alternative Fruits: Combine plums with peaches or apricots for a unique twist.
FAQs
Do I need to peel the plums?
No, the skins break down during cooking, giving the jam its rich color and texture.
Why boil and cool the jam multiple times?
This slow-cooking method enhances flavor and thickens the jam naturally without pectin.
How can I tell if my jam has set properly?
Place a small spoonful on a cold plate and tilt it. If it holds its shape and doesn’t run, it’s ready.
Serving Suggestions
- Spread on toast, bagels, or croissants for a delicious breakfast.
- Use as a topping for yogurt, pancakes, or oatmeal.
- Pair with cheese and crackers for a sweet-savory combination.
- Swirl into ice cream or drizzle over desserts for extra flavor.
Why You’ll Love This Recipe
- Made with just two simple ingredients—no need for pectin or peeling.
- Natural thickening process results in a rich, flavorful jam.
- Perfect for preserving seasonal plums to enjoy year-round.
- Great as a homemade gift or pantry staple!
Plum Jam Recipe (No Peel, No Pectin!)
80
servings2
hours1
hour30
minutesIngredients
12 lbs sweet ripe plums, rinsed
4 1/2 cups granulated sugar
8 pint-sized jars with lids
Directions
- Preparing the Plums
- Pit and halve the plums, then place them in a large mixing bowl.
- Sprinkle the sugar over the plums and stir until evenly coated.
- Let the mixture sit for 1 hour to allow the plums to release their juices.
- Cooking the Jam
- Transfer the plums and sugar mixture to a large pot.
- Bring to a boil, stirring occasionally, until the mixture bubbles evenly.
- Reduce heat and simmer for 10 minutes, then turn off the heat and allow it to cool to room temperature.
- Repeat the boiling and cooling process three more times. On the final boil, reduce the heat and stir frequently to prevent scorching.
- Sterilizing the Jars
- Wash jars and lids with warm soapy water, then dry them in an oven at 215°F for 20 minutes or until completely dry.
- Boil the lids for 5 minutes to sterilize them.
- Filling and Processing the Jam
- While the jam is still hot, use a glass measuring cup and funnel to transfer it into the sterilized jars, leaving about 1/2 inch of space at the top.
- Secure the lids tightly but do not over-tighten, as air bubbles need to escape during processing.
- Place the sealed jars into a canning pot, ensuring they are covered with 1-2 inches of water.
- Bring to a boil and process for 15 minutes.
- Remove jars from the pot and let them sit at room temperature undisturbed for 12-24 hours.
- Listen for a “pop” sound indicating a proper seal. After 24 hours, check the seal by pressing the center of the lid; if it does not move, the seal is set. If unsealed, refrigerate and consume within 3 months.
Leave a Comment